|
|

Getting Started
WordPress Store
 Watch Introduction Video
Toggle detailed instructions on how to add SalesCart App
Watch WordPress Plugin Installation Video
Adding SalesCart App to WordPress
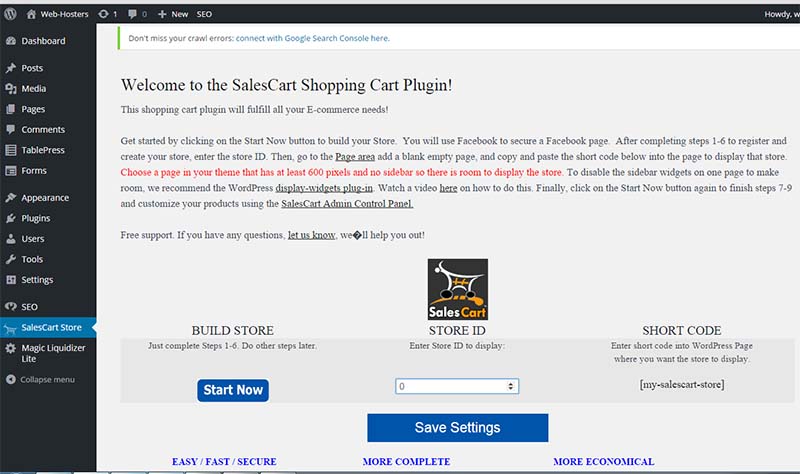
Add the SalesCart App to WordPress
First, add the SalesCart App to your WordPress account by following the instructions below †. You will build a WordPress website and it will hold your entire SalesCart Store.
| What you are doing | Instructions | |
|---|---|---|
| Video |
Automatic Installation
|
|
Manual Installation
Navigate to {SalesCart Store} in the WordPress dashboard admin and follow the instructions provided |
||
WordPress-ONLY Store
Follow the rest of the directions if you only want a WordPress webstore and you do NOT want a Facebook store in the future. If you also want a free Facebook Store, then you need to use Facebook to register and build your Facebook store instead. Once you have a free SalesCart Facebook Store, instantly add it to WordPress just by adding the short tag [my-salescart-store] to any WordPress page and WordPress website with the SalesCart WordPress plugin installed.
Register and Create Demo Store
You will be sent an email to validate you are not a bot and to finalize the registration phase of building your store.
| What you are doing | Instructions | |
|---|---|---|
Register for Website-only Store
In the future, you will go here to administer, and view your store. |
||
 Click Here for Larger Image |
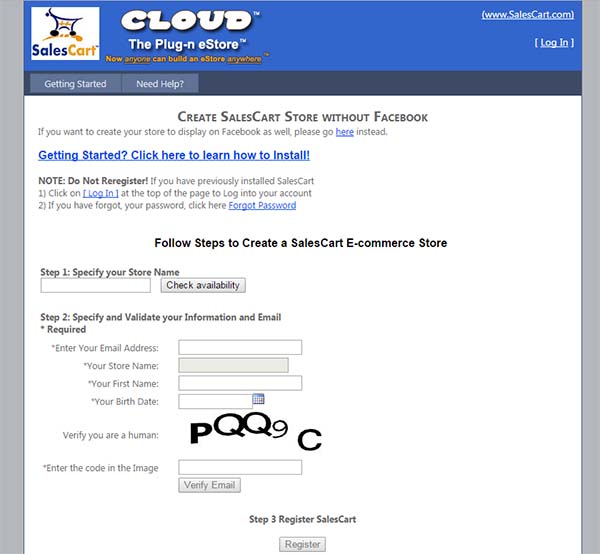
Fill out the Registration Form
Check your Email for the Verification Email Note: If you don't get the email, check your spam folder. You can also resend another email by revisiting this same registration page and entering your store. |
|
 Click Here for Larger Image |
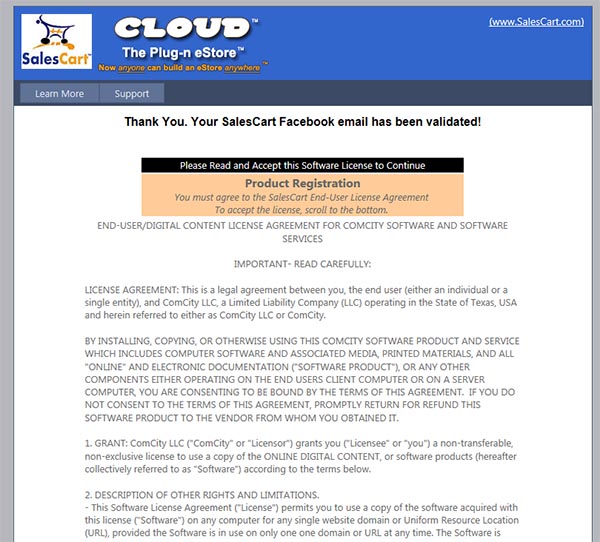
Accept License
|
|
 Click Here for Larger Image |
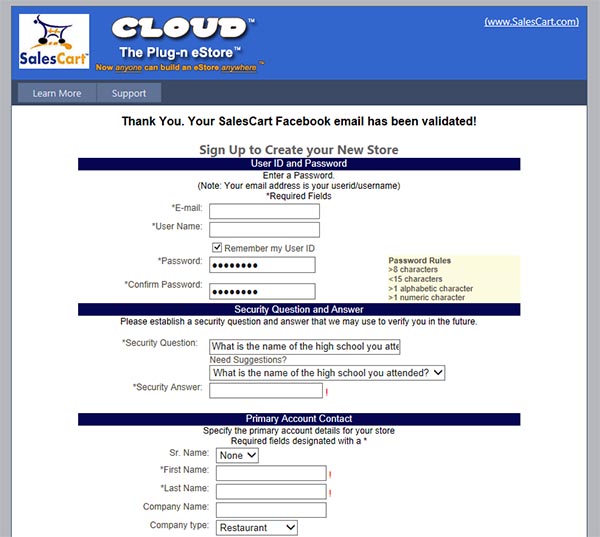
Complete Registration: Final Step
|
|
 Click Here for Larger Image |
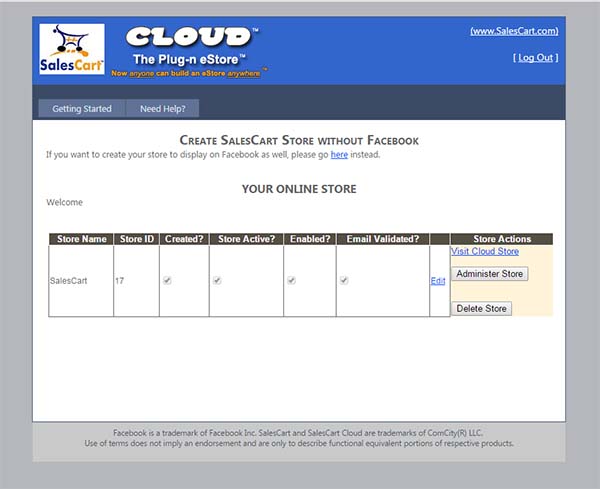
View your Demo Store
Log-in
|
|
Add Store to WordPress
| What you are doing | Instructions | |
|---|---|---|
 Click Here for Larger Image |
Add your SalesCart Store ID
|
|
 Click Here for Larger Image |
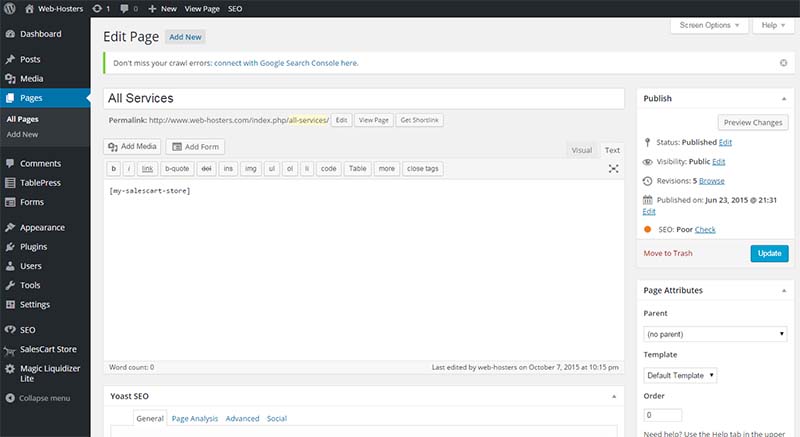
Create a WordPress Page
|
|
Customizing the Demo Store
The next step is to customize the Default Demo Store. By default, the intial store provided is simply mock-up data for a sandwich shop. You need to customize this demo category and product data for your own products and your own store.

 Reddit